A balloon garland is one of the most visually impressive party decorations you can make — and it is also one of the most accessible. Professional balloon installations can cost hundreds of dollars, but a DIY balloon garland made at home typically runs between $20 and $60 in supplies and takes about one to two hours to assemble. The result looks every bit as good as a professionally made arch, and because you chose every color and placed every balloon yourself, it fits your specific party perfectly.
Whether you are decorating for a birthday party, a baby shower, a graduation celebration, or a backyard gathering, a balloon garland delivers more visual impact per dollar spent than almost any other party decoration. This step-by-step guide covers everything — from the supplies you need to the exact assembly process, plus tips for hanging, color selection, and creative ways to use your finished garland at different types of events.
What Is a Balloon Garland (and What Makes It Different)?
A balloon garland is a flowing, organic arrangement of latex balloons in multiple sizes and colors, assembled onto a balloon decorating strip or fishing line and hung along a wall, doorway, dessert table, or event backdrop. Unlike a structured balloon arch — which uses uniform-sized balloons and a rigid frame — an organic balloon garland has a free-flowing, textured quality that looks beautiful precisely because it is not perfectly symmetrical.
The “organic” style that dominates party decoration trends in 2026 deliberately mixes three or four balloon sizes, two to five colors, and occasionally adds faux florals or greenery for texture. This creates a result that looks effortlessly styled rather than mechanically assembled. You cannot really make an organic balloon garland wrong — variations in placement and sizing are what make each one unique and beautiful.
No helium is required. Balloon garlands are made entirely with air-filled latex balloons, which means they last significantly longer than helium balloons (up to a week indoors), cost a fraction of the price, and can be assembled days in advance without deflating.
What You Need to Make a Balloon Garland
Before you start inflating, gather all your supplies. Having everything ready before you begin makes the assembly process significantly faster and more enjoyable.
Essential Supplies
- Latex balloons in multiple sizes: You will need at least three sizes for an organic look — small (5-inch), standard (11 or 12-inch), and large (16 or 18-inch). Plan for roughly 80 to 100 balloons for a 6-foot garland. Most balloon garland kits on Amazon include a mix of sizes and colors and are by far the easiest starting point for first-time makers.
- Balloon decorating strip (also called balloon tape or balloon arch strip): This is a long plastic strip with small holes punched at regular intervals. You push the knotted end of each balloon through a hole to secure it. This is the simplest and most reliable assembly method available.
- Balloon glue dots: Small adhesive dots used to attach filler balloons into gaps after the main garland is assembled. Do not substitute a hot glue gun — the heat will pop balloons.
- Electric balloon pump: One of the most valuable purchases you can make for any party decoration project. Inflating 80+ balloons by mouth is both exhausting and will make you lightheaded. An electric pump inflates each balloon in seconds and is available inexpensively at party supply stores or online.
- Command hooks: Removable adhesive hooks for hanging the finished garland on walls without damage. Two to three hooks are usually sufficient for a standard 6-foot garland.
- Fishing line or clear twine: Used to secure the ends of the garland strip to the command hooks, or to create additional hanging points along the length of the garland if needed.
Optional Additions That Elevate the Look
- Faux greenery sprigs, eucalyptus stems, or silk flowers tucked between balloons
- Confetti-filled clear balloons for sparkle and texture
- Metallic or chrome balloons to add shine to the palette
- Letter or number foil balloons to personalize the garland for a specific occasion
- Ribbon tails or tassel garlands draped below the balloons for added movement
For everything you need in one kit, most party supply stores and Amazon carry complete balloon garland kits that include balloons, strip, glue dots, and a balloon tying tool. These are ideal for first-time makers and often work out cheaper than sourcing each item separately.
Choosing Your Color Palette
Your color palette is the single most important aesthetic decision you will make about your balloon garland — more than size, shape, or placement. A well-chosen palette makes a garland look intentional and cohesive. A poorly chosen one makes it look like you grabbed whatever was available.
The 2-3-1 Color Rule
A reliable formula for any balloon garland palette: choose two main colors, one accent color, and one neutral. The two main colors make up the majority of your balloons. The accent color appears less frequently — roughly one in eight balloons — for contrast and visual interest. The neutral (white, cream, ivory, or clear) provides breathing room and prevents the arrangement from feeling visually heavy.
Examples that consistently look great:
- Dusty rose + sage green + gold accent + white neutral
- Navy + sky blue + silver accent + white neutral
- Coral + peach + gold accent + ivory neutral
- Lavender + lilac + dusty purple accent + white neutral
- Burnt orange + rust + terracotta accent + cream neutral
Matching Your Garland to a Party Theme
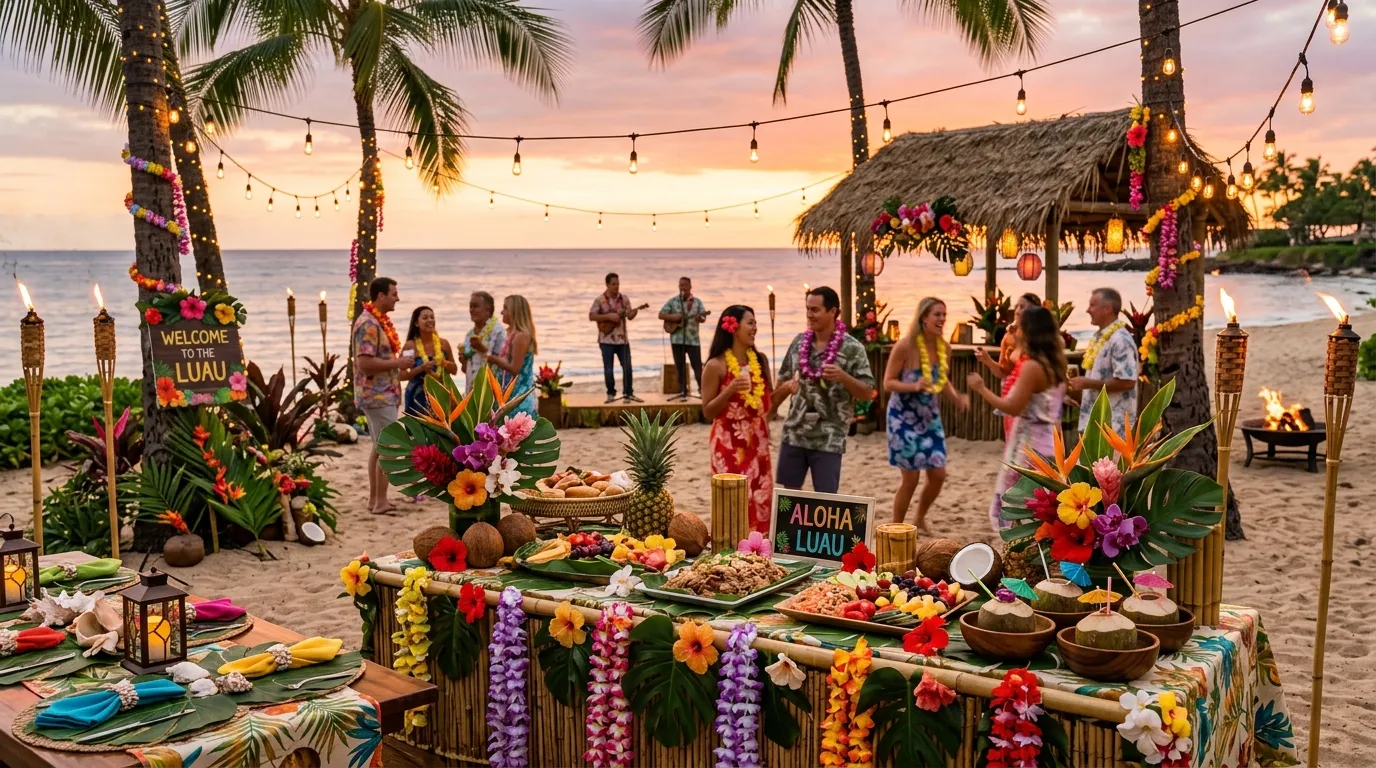
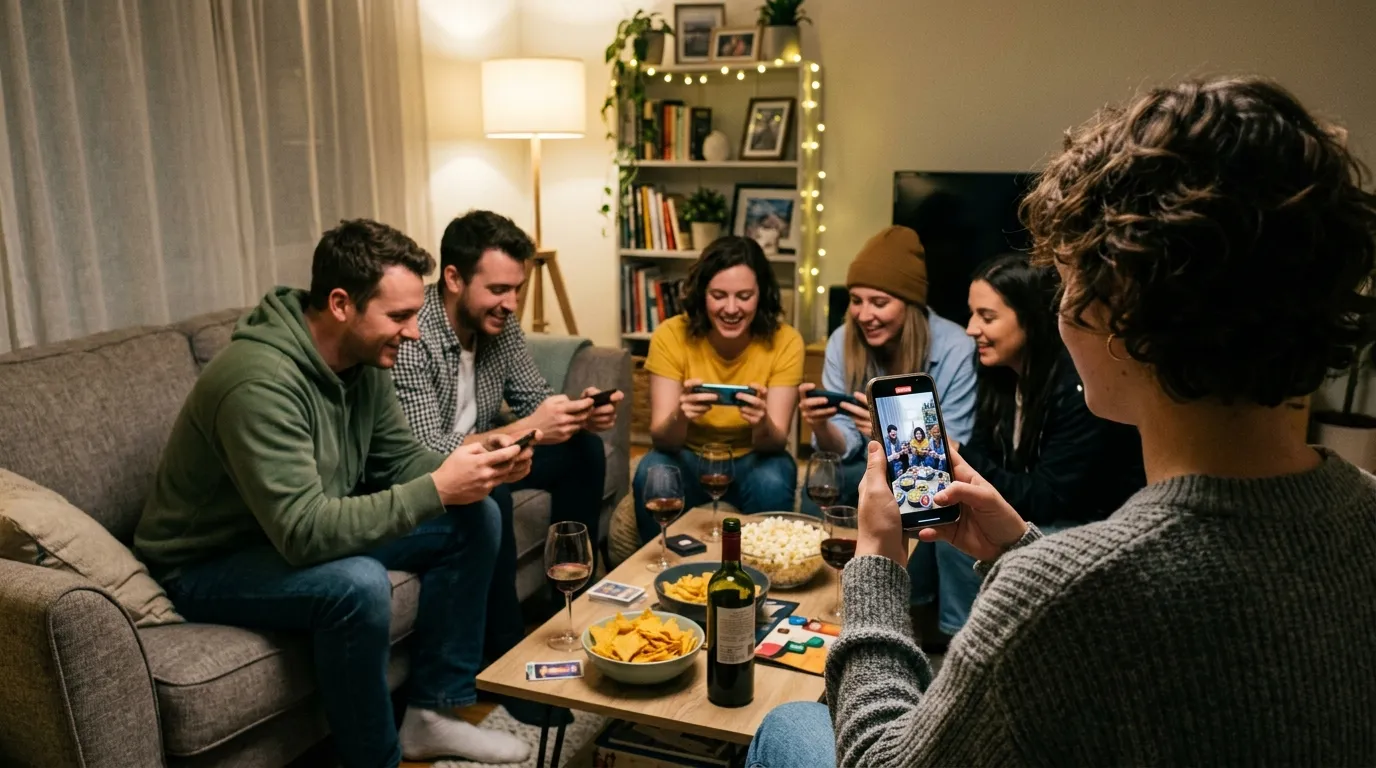
Let your party theme guide your color selection. A tropical luau balloon garland might use hot pink, bright orange, and leafy green with white neutrals. A baby shower calls for softer pastels. A game night or adult birthday can handle bolder, more graphic color combinations. For theme-specific color inspiration tied to popular party styles, visit the Party Themes section on Party Monster — each theme guide includes color palette suggestions that translate directly into balloon garland design.
Step-by-Step: How to Make a Balloon Garland
Once your supplies are gathered and your palette is chosen, the assembly process is straightforward. Work through these steps in order and your garland will come together in one to two hours.
Step 1 — Inflate Your Balloons
Using your electric pump, inflate all your balloons before you start attaching anything to the strip. Inflate large balloons to their full size, medium balloons to about 80% capacity, and small balloons to 50 to 60% capacity. Varied inflation levels are what create the organic, textured quality that makes these garlands look professional — if every balloon is the same size, the result looks flat and uniform.
After inflating each balloon, gently press it against your body while holding the opening to let a small amount of air escape. This makes the balloon rounder and gives you a longer tail to work with when knotting. Tie each balloon securely close to the opening. Sort your inflated balloons into color groups so you can grab the right colors as you build.
Pro tip from CV Linens’ balloon garland guide: do not over-inflate balloons, especially for outdoor events. Air inside latex balloons expands with heat — over-inflated balloons at an outdoor summer party will pop as the day warms up.
Step 2 — Thread Balloons onto the Decorating Strip
Lay your balloon decorating strip out on a flat surface — a long table, a clean floor, or draped over a sofa back all work well. Starting at one end, push the knotted tail of each balloon through one of the small holes in the strip. The knot catches on the edge of the hole and holds the balloon in place.
Work your way along the strip, alternating colors and sizes as you go. Place a large balloon, then a medium, then a small, then a medium in a different color — there is no strict rule, but variety is the goal. Skip every other hole at first rather than filling every one. You can always add more balloons later, but a garland that is too packed becomes stiff and loses its organic shape.
Also alternate the direction of each balloon — one facing forward, the next facing backward — to create a fuller, more three-dimensional appearance when the garland is hung on a wall.
Step 3 — Fill Gaps with Glue Dot Balloons
Once your strip is covered with your main balloons, hold it up against the wall where it will hang to identify any thin or bare areas. Use balloon glue dots to attach additional small balloons directly to the surface of neighboring balloons, filling gaps and building out the garland’s depth and fullness. Place each glue dot near the balloon’s knot rather than on its body so the dot stays hidden inside the arrangement.
This is also the step where you add any faux greenery, silk flowers, or ribbon tails. Tuck eucalyptus sprigs between balloons and secure them with a small piece of floral wire or a glue dot. The greenery creates a backdrop of texture that makes the balloon colors pop dramatically.
Step 4 — Hang Your Garland
Stick your command hooks to the wall at the points where you want the garland to hang — typically one at each end and one in the middle for longer garlands. Thread fishing line through the holes at each end of the balloon strip and tie the loops to the command hooks.
For a wall-mounted garland above a dessert table or along a mantle, two hooks — one at each end — is usually sufficient. For a doorway arch, you will need hooks at each side of the door frame plus one or two anchor points overhead. For heavier or longer garlands, fishing line strung between hooks along the top of the garland provides additional support that prevents the middle from sagging.
Once hung, step back and identify any remaining bare spots and fill them with glue-dot balloons. Small adjustments at this stage make the difference between a garland that looks good and one that looks extraordinary.
Creative Ways to Use Your Balloon Garland
Once you know how to make one, the creative applications are almost unlimited. Here are the most impactful ways to deploy a balloon garland at different types of parties:
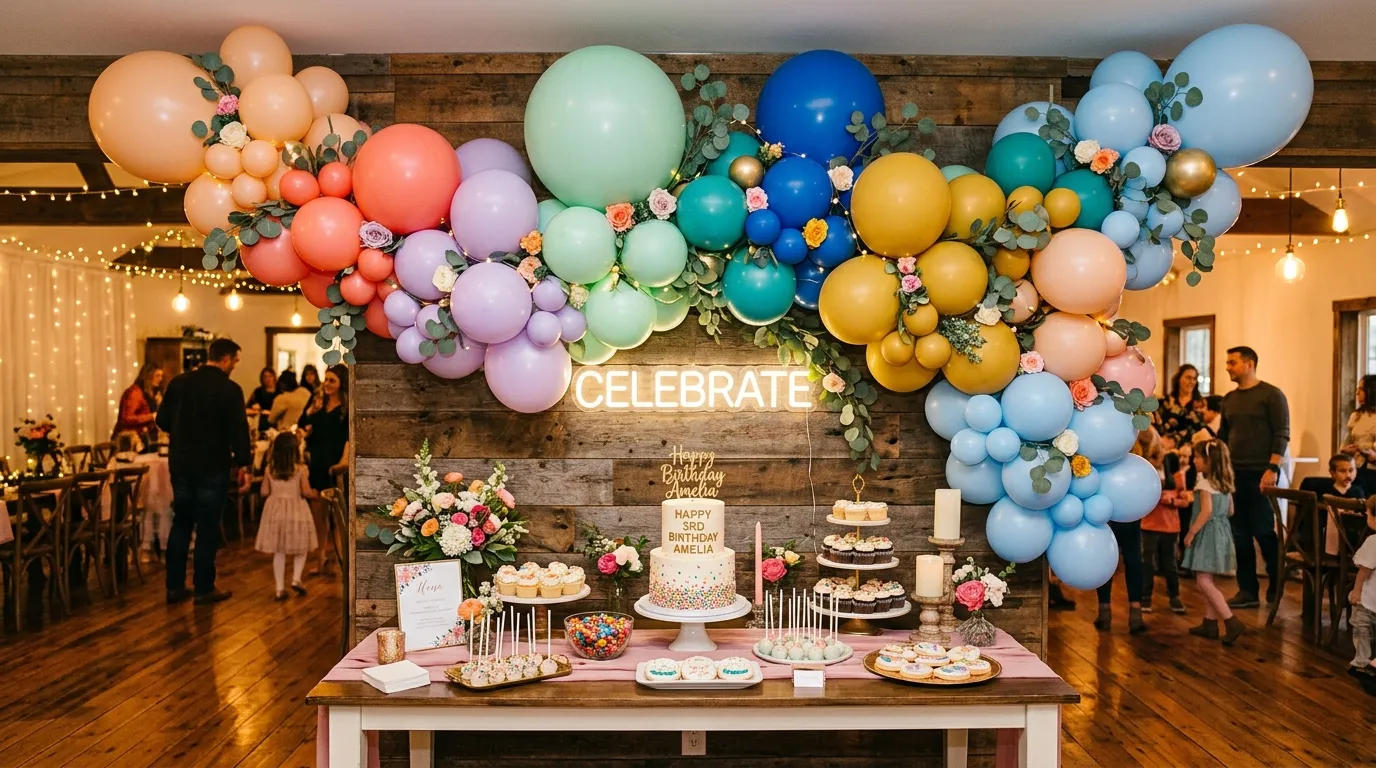
Dessert Table Backdrop
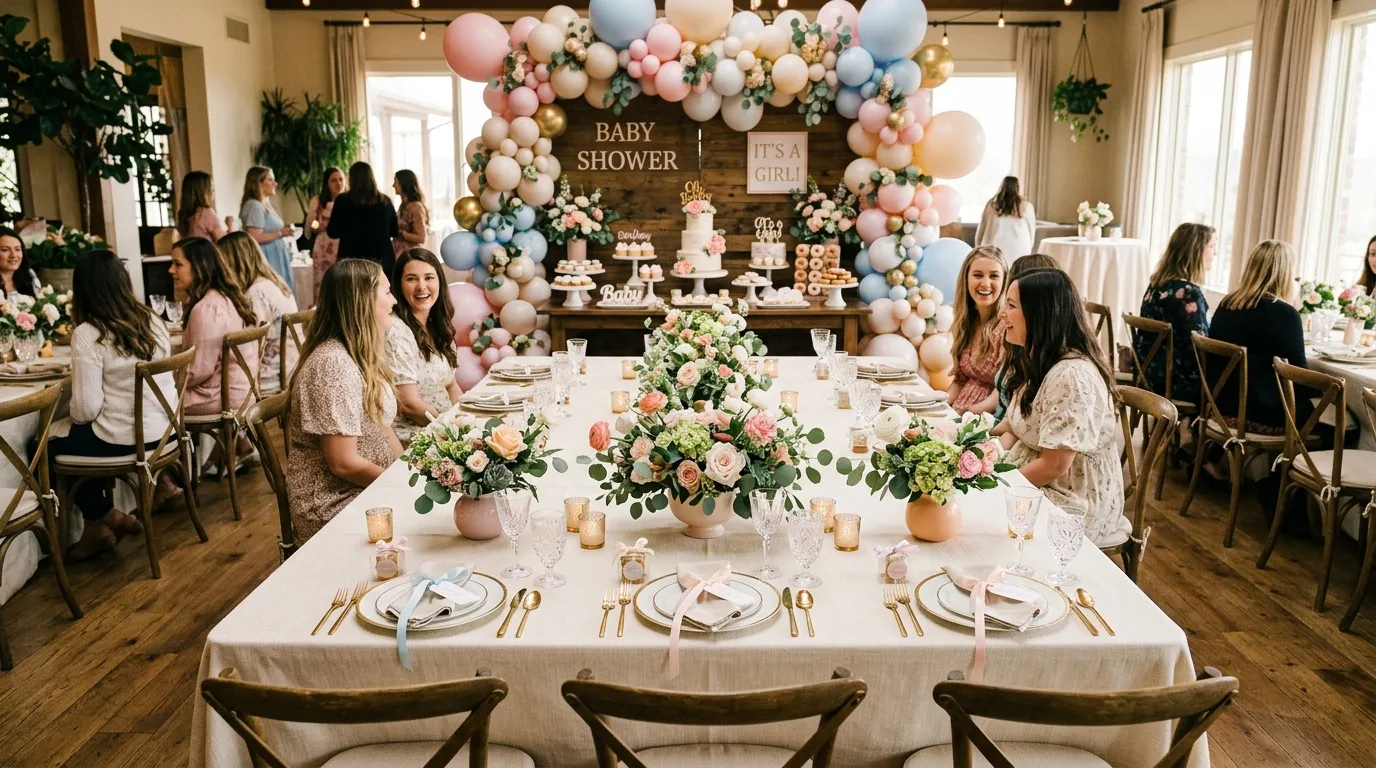
Hanging a balloon garland directly behind your dessert table is the single most photographed party decoration setup at any event. The balloons frame and elevate the food display, create a cohesive visual connection between your color palette and your desserts, and give every photo taken at the table a beautiful, festive background. This works for birthday parties, baby showers, anniversary celebrations — essentially any event with a food or cake table as a focal point.
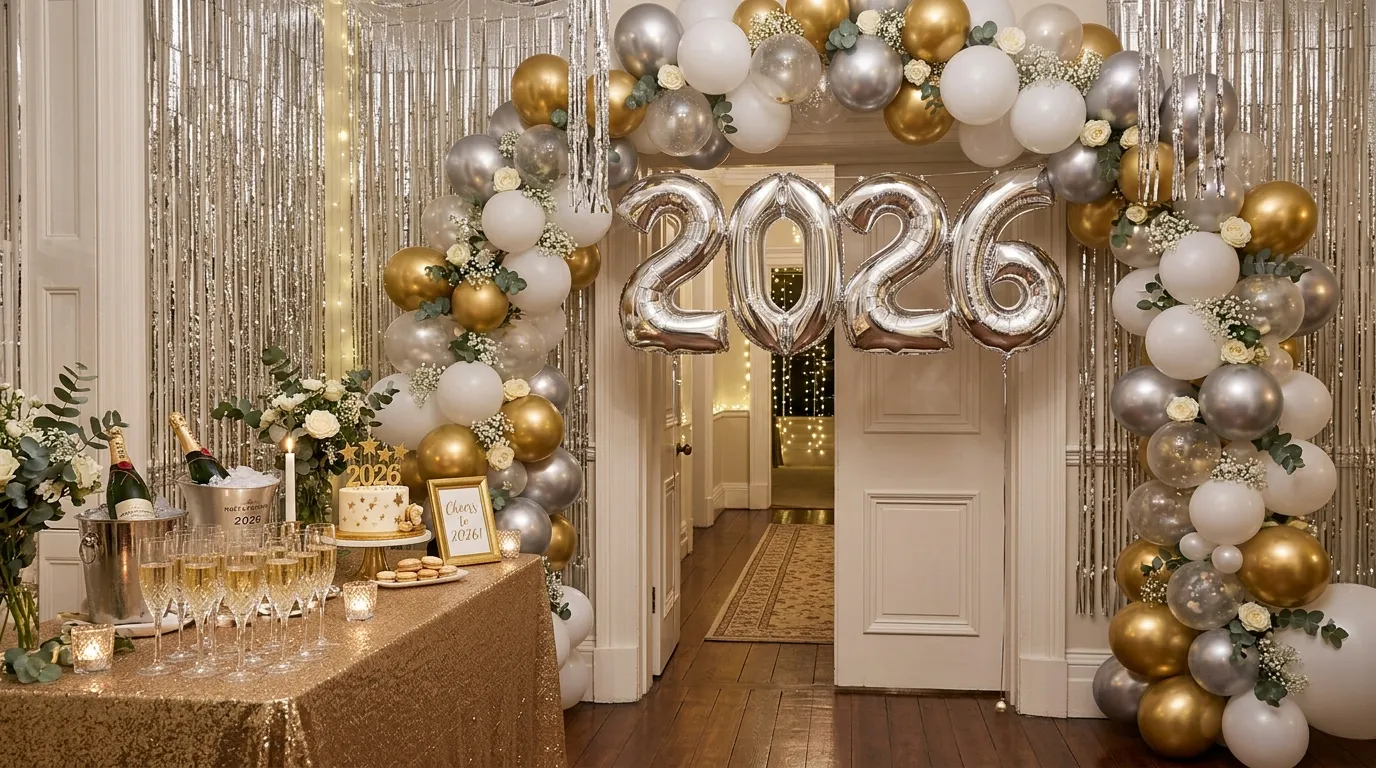
Entrance or Doorway Arch
A balloon garland framing the entrance to your party space creates an immediate “you have arrived” moment for guests. Anchor the ends of the garland on each side of the doorframe and let it arch overhead. This works as a standalone statement piece and requires no other decoration in the immediate area — the arch does all the visual work.
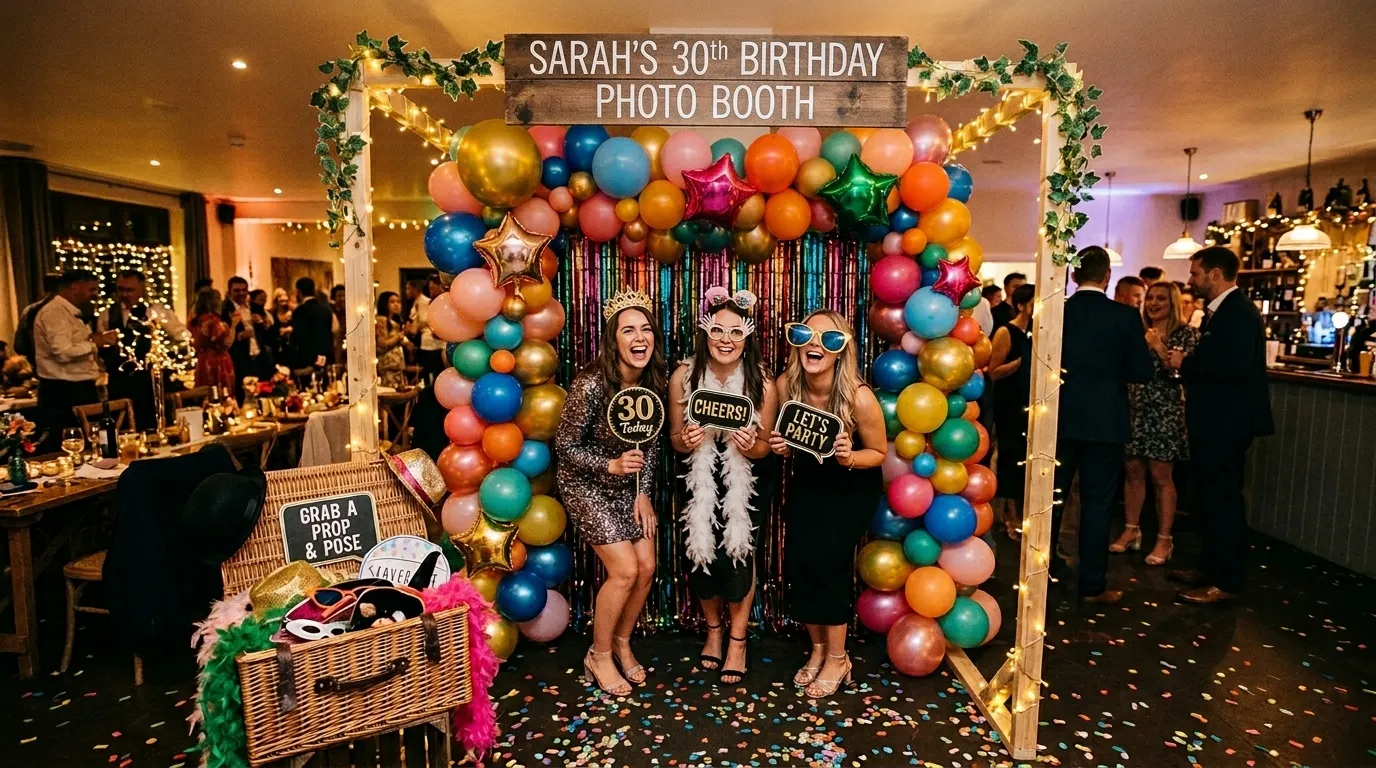
Photo Booth Backdrop
A balloon garland mounted behind a designated photo area gives every guest photo a professional, event-worthy backdrop. Add a few themed props — birthday hats, sunglasses, a themed sign — and you have a photo station that guests actively seek out and use throughout the party. For more photo booth setup ideas and props, visit the Decorations section on Party Monster.
Chair or Table Decoration
A smaller, shorter balloon garland can be draped along the back of the birthday child’s chair, across the head table, or along the edge of a gift table. This is an especially effective use of leftover balloons and strip after your main garland is complete.
Balloon Garland Tips, Tricks, and Troubleshooting
How Far in Advance Can You Make a Balloon Garland?
Indoor balloon garlands made with good-quality latex balloons typically stay full and beautiful for up to one week. You can safely assemble your garland the day before the party and hang it the morning of the event. If you are making your garland for an outdoor event, assemble it the day before but hang it no earlier than the morning of the party — UV light and temperature changes deflate outdoor balloons significantly faster than indoor ones.
How Many Balloons Do You Need?
A reliable rule of thumb: plan for approximately 12 to 15 balloons per foot of garland length. A 6-foot garland needs roughly 80 to 100 balloons. A full doorway arch (approximately 8 to 10 feet) needs 100 to 150 balloons. Always buy 20% more than you calculate — you will pop some during inflation and will want extras for filling gaps.
What to Do if the Garland Looks Thin
If your assembled garland looks sparse, the fix is simple: add more small balloons with glue dots. Focus on areas where you can see the strip through the balloons. Adding extra small balloons — especially in a neutral or accent color — instantly fills out the garland and creates the lush, abundant look you see in professional installations.
How to Remove the Garland Without Wall Damage
Command hooks are designed to be removed cleanly from walls without damaging paint. Follow the manufacturer’s instructions precisely — pull the adhesive strip straight down slowly rather than pulling the hook away from the wall. Wait at least one hour after hanging before testing the hold, and leave the hooks in place for the full duration of the party before removal.
A balloon garland is one of the most satisfying DIY party decorations you will ever make — the transformation it creates in a space is genuinely dramatic, and the process itself is far more enjoyable than it looks from the outside. Once you make your first one, you will find yourself looking for reasons to make the next.
For more decoration ideas across every party theme and celebration type, explore the full Decorations category on Party Monster. And for party planning tips that help you bring all your decoration ideas together into a cohesive event, visit the Party Planning Tips section for guides on everything from timelines to tablescapes.